How to Install PGT Vinyl Windows: Top 4 Easy Steps
If you’re here to learn how to install PGT vinyl windows quickly, here’s your answer:
- Prepare and gather tools – Ensure you have necessary tools and a clean workspace.
- Remove the old window – Carefully extract the frame and components.
- Install the new PGT window – Align, secure, and seal correctly.
- Insulate and finalize – Properly insulate and check seals.
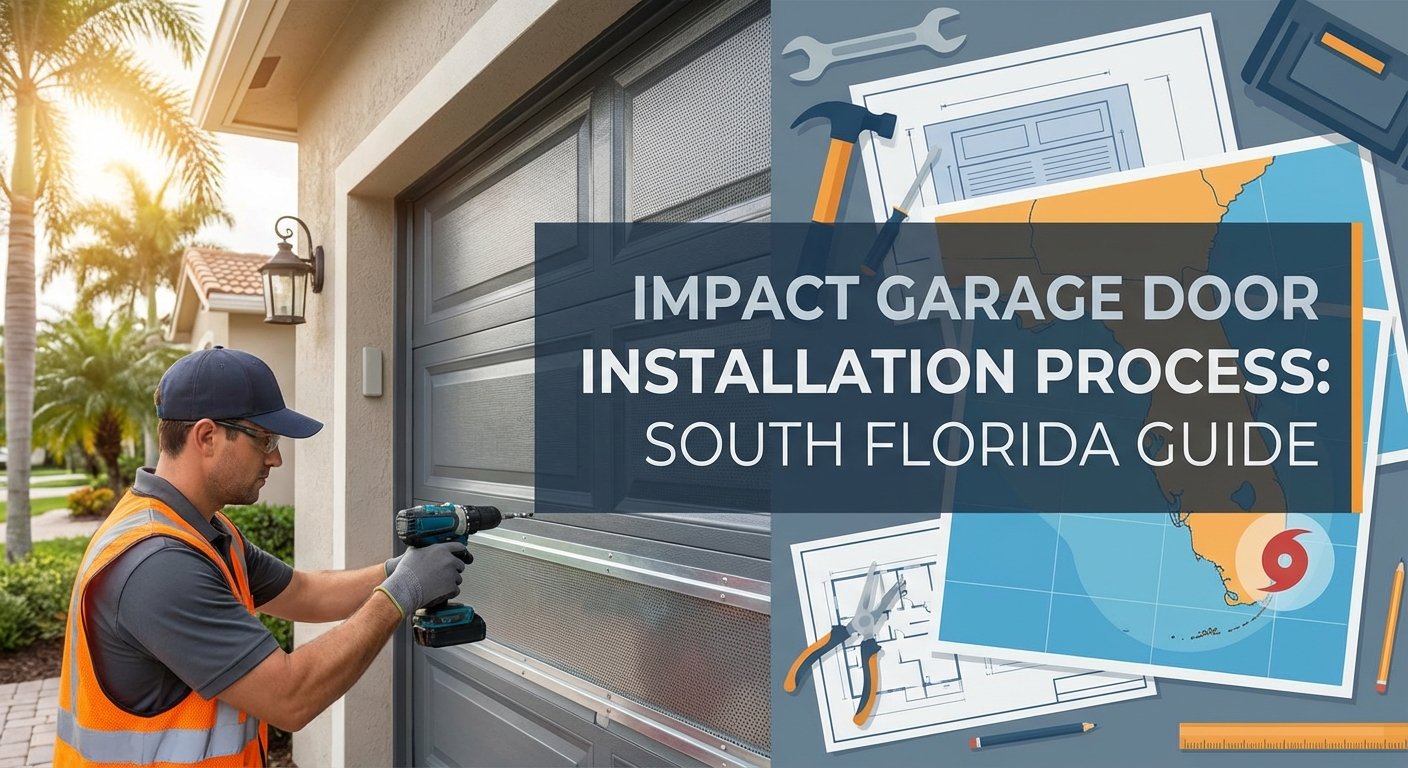
Installing new windows is crucial for any homeowner wanting to improve property resilience and reduce energy costs. In South Florida, where hurricanes pose a significant threat, choosing the right windows is vital. PGT vinyl windows not only offer superior protection but also meet stringent building codes required in hurricane-prone areas.
In this quick guide, we’ll walk you through the steps of installing PGT vinyl windows. This article is custom to help Coastal Homeowner Carl—someone who values safety, energy efficiency, and works best with trustworthy contractors. You don’t want high-stakes decisions to come with added pressure, especially when dealing with something as important as your home’s protection.
PGT windows are known for their durability and impact resistance, making them a top choice in fortifying homes against severe weather. Learning the installation process is simple and can provide long-term benefits, from improved security to improved energy savings.
For more detailed guidance, keep reading. We’ll break down each step so you can get started with confidence and keep your home safe and energy-efficient.

Preparing for Installation
Before you begin installing PGT vinyl windows, preparation is key. A well-prepared workspace ensures a smooth installation process and helps avoid common pitfalls. Here’s how to get started:
Preparation
-
Gather Your Tools: Ensure you have all necessary tools on hand. This includes a screwdriver, utility knife, measuring tape, level, and safety gloves. Having everything ready means you won’t have to pause mid-project to hunt for a missing tool.
-
Measure Accurately: Double-check the dimensions of your new PGT window against the opening. Accurate measurements prevent fitting issues later on.
-
Clear the Area: Remove any obstructions around the window area. This makes the workspace safer and more accessible. Plus, you’ll have room to maneuver during installation.
Protection
-
Safety Gear: Wear protective eyewear and gloves. These protect against sharp edges and debris, keeping you safe during the installation.
-
Protect Your Home: Cover nearby furniture and floors with drop cloths. This prevents damage from dust and debris, making cleanup easier.
-
Weather Considerations: Check the weather forecast. Avoid installation on rainy or extremely windy days, as these conditions can complicate the process.
Cleaning
-
Clean the Surface: Before installation, thoroughly clean the window frame and surrounding area. Dirt and debris can interfere with the window’s fit and seal.
-
Use Application Fluid: Apply a light mist of application fluid on the surfaces. This helps the new window slide into place more easily and ensures a tight seal.
-
Inspect for Damage: Examine the existing window frame for any signs of rot or damage. Address these issues before proceeding to ensure a solid base for the new window.

By following these preparation steps, you set the stage for a successful installation of your PGT vinyl windows. A little time spent preparing can save a lot of time and trouble later on.
Next, we’ll dive into the removal of the old window and how to set your new PGT window in place.
How to Install PGT Vinyl Windows
Installing PGT vinyl windows is a step-by-step process. Each step ensures that your windows are secure, efficient, and long-lasting. Let’s break it down.
Step 1: Preparation and Protection
Before you start, make sure the area is clean and free of debris. Cleaning the surface is crucial for a snug fit and tight seal. Use a light mist of application fluid on the surfaces. This helps the new window glide into place with ease.
Step 2: Extraction and Removal
Carefully remove the old window components. Use a utility knife to cut through any paint or caulk sealing the old window. Then, extract the frame by loosening it with a screwdriver. This step requires patience to avoid damaging the surrounding structure.
Step 3: Setting the New Window
Align the new PGT vinyl window with the opening. This is where precision matters. Use a level to ensure the window is perfectly horizontal and vertical. Once aligned, attach the window using screws. Make sure these are tightly fastened to prevent any movement. Finally, apply a sealant around the edges to keep out moisture and drafts.
Step 4: Insulating and Finalizing
For insulation, fill any gaps between the window frame and the wall with insulating foam. This step improves energy efficiency and soundproofing. Once the insulation is set, finish by sealing the exterior frame. This not only secures the window but also improves its appearance and protection against the elements.
By following these steps, your PGT vinyl windows will be properly installed, providing your home with improved protection and efficiency.
Next, we’ll cover maintenance tips to keep your windows in top condition for years to come.
Maintenance Tips for Longevity
Once you’ve successfully installed your PGT vinyl windows, keeping them in top shape ensures they continue to perform well and look great. Here are some simple maintenance tips you can follow:
Regular Maintenance
Regular maintenance is key to extending the life of your windows. Check your windows at least twice a year. Look for any signs of wear or damage, like cracks or warping. Early detection of issues can save you from costly repairs later.
Cleaning Frames
Cleaning the frames of your PGT vinyl windows is essential for maintaining their appearance and functionality. Use a mild detergent and water to gently clean the frames. Avoid harsh chemicals, as they can damage the vinyl. A soft cloth or sponge works best to avoid scratching the surface.
Seal Integrity
The seal around your windows is crucial for keeping out moisture and drafts. Inspect the seals regularly for any gaps or cracks. If you find any, reapply a high-quality sealant. This not only prevents leaks but also helps in maintaining energy efficiency and soundproofing.

By following these simple steps, your PGT vinyl windows will stay in excellent condition, offering your home protection and efficiency for years to come. Next, we’ll address some frequently asked questions about PGT vinyl windows to help you further understand their benefits and installation process.
Frequently Asked Questions about PGT Vinyl Windows
How long do PGT windows last?
PGT vinyl windows are known for their durability and long lifespan. On average, these windows can last between 20 to 30 years, depending on several factors like maintenance and environmental conditions. Regular upkeep, such as cleaning and seal inspections, can significantly extend their life. In areas with harsh weather, like South Florida, it’s particularly important to check for any signs of wear and tear caused by extreme conditions.
Do you install replacement windows from the inside or outside?
The installation of replacement windows can be done from either the inside or the outside, depending on the specific situation and window type. For PGT vinyl windows, it often depends on the existing window frame and the surrounding structure. In many cases, installing from the outside is preferred to ensure a proper seal and to avoid disturbing the interior finishes. Proper sealing is crucial in preventing water and air leaks, which can affect the window’s performance and longevity.
How do you install window vinyl?
Installing window vinyl involves a few key steps to ensure a smooth and secure finish. Here’s a simple breakdown:
-
Application Fluid: Start by applying a special fluid to the window surface. This helps the vinyl adhere smoothly without bubbles.
-
Positioning the Vinyl: Carefully align the vinyl sheet over the window, ensuring it covers the desired area.
-
Squeegee: Use a squeegee to press the vinyl onto the window, starting from the center and pushing outwards. This removes any trapped air bubbles and ensures a tight fit.
-
Trimming: Once the vinyl is securely in place, trim any excess material using a sharp utility knife.
By following these steps, you can achieve a clean and professional-looking vinyl installation on your PGT windows. This process not only improves the window’s appearance but also adds an extra layer of protection.
With these FAQs, we hope to have addressed some of the common concerns and questions about PGT vinyl windows. Next, we’ll wrap up with a conclusion and explore how Access Doors & Windows can help you achieve the best results for your home.
Conclusion
Choosing Access Doors & Windows for your PGT vinyl window installation is a decision that brings peace of mind and satisfaction. As a family-owned business with deep roots in the community, we understand the importance of protecting your home, especially in hurricane-prone areas like South Florida.
Our commitment to providing top-notch hurricane protection means that we only install the best products, like PGT vinyl windows. These windows are designed to withstand the toughest weather conditions, offering you and your family safety and security.
At Access Doors & Windows, customer satisfaction is our top priority. We believe in honest communication and transparent processes. From your first consultation to the final installation, our team is dedicated to ensuring that your experience is smooth and stress-free. Our licensed and insured experts handle every project with the utmost care and attention to detail, guaranteeing a job well done.
If you’re ready to improve your home’s protection and aesthetics with PGT vinyl windows, we invite you to learn more about our services. Let us show you why so many homeowners trust us for their window installation needs.
Your home deserves the best, and we’re here to deliver it. Contact us today to start your journey toward a safer, more beautiful home.